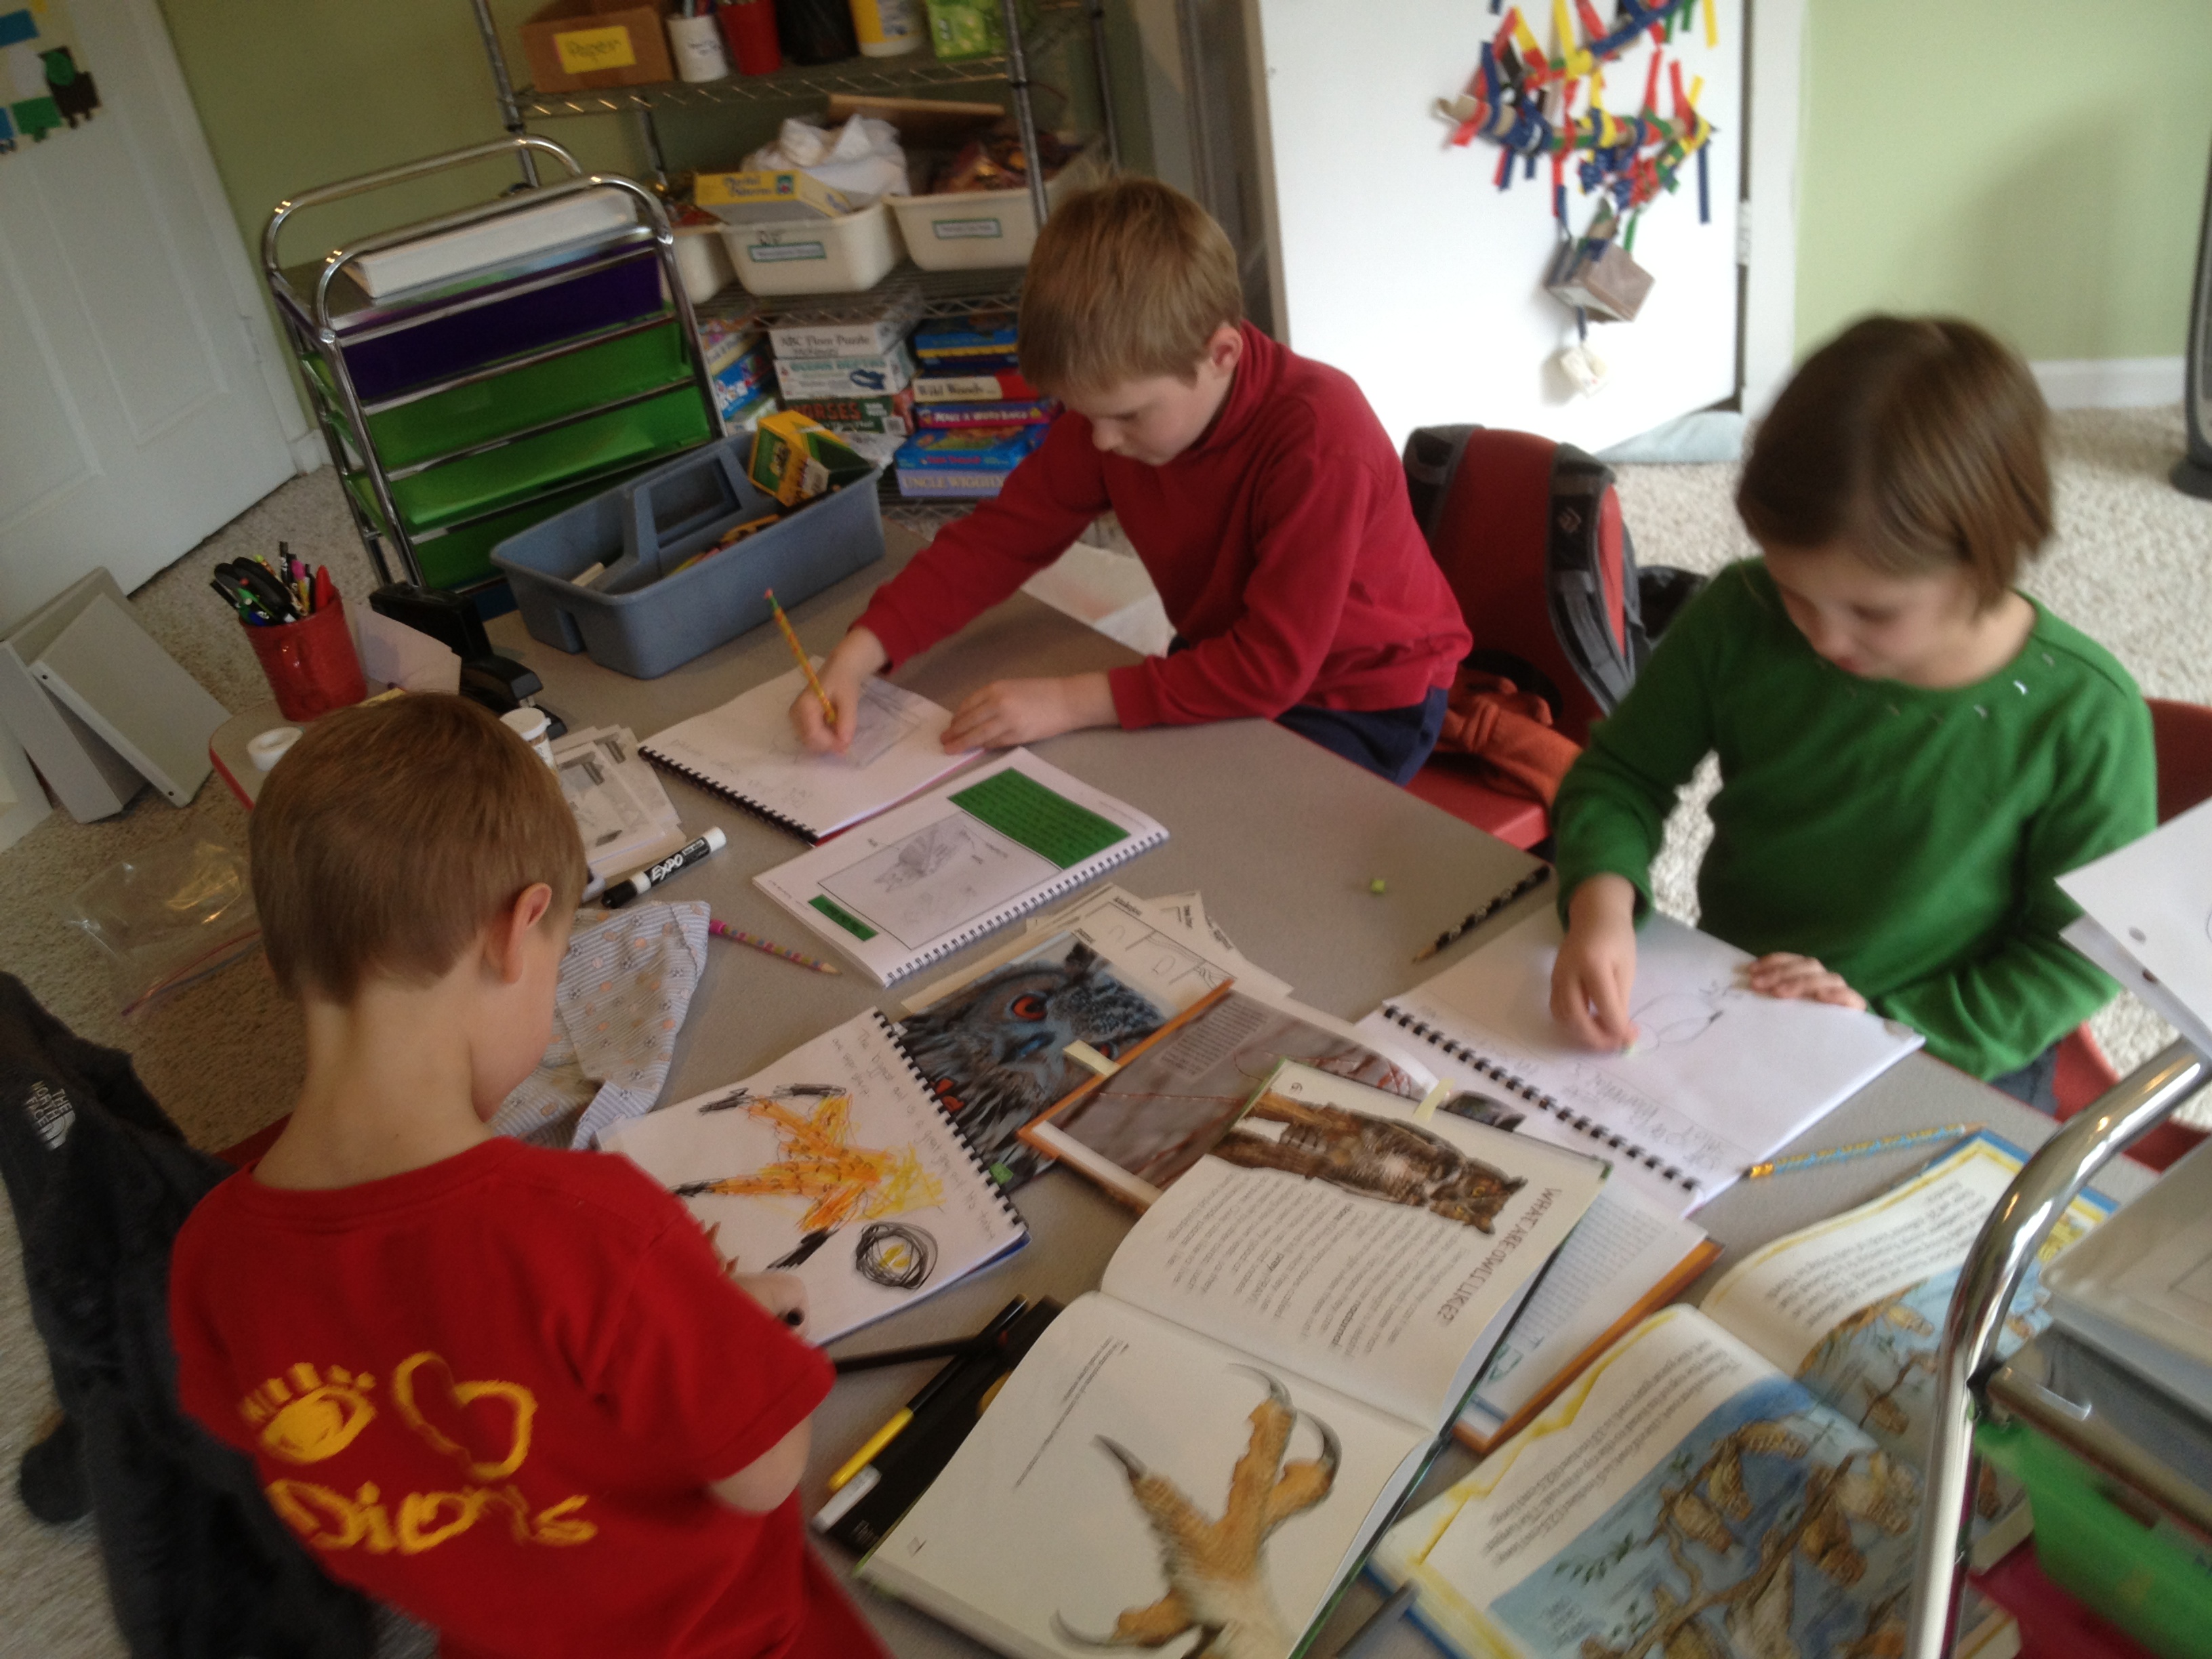
Owl Unit: Illustrating Owls in our journals
Last March my husband and I were on the fence about homeschooling. We had a soon-to-be first grader that we were interested in homeschooling but weren’t sure if it was something we could do. We talked often about the pro’s and con’s – weighing what might be right for our child. I then heard about a Homeschooling Convention that would take place in April. I decided to attend to see what they had to offer.
Boy was I glad I made the time to go. During the second day of the convention, my husband and I ducked out of “class” and sat down to have a heart-to-heart about this possible decision. By attending the convention, we saw the vast amount of “teaching tools” available to parents and learned about the wonderful support for parents yearning to be successful at homeschooling. It seemed to then be an easy decision…so we said “yes” and took the plunge!
It’s now been a year. My kids and I are still “friends” and we learned tons to boot! It’s fun to look back and see all that we’ve accomplished and to see what growth I’ve had as a parent/teacher. What I didn’t know then – and what I now know…night and day.
If you’re in the middle of trying to make that decision – to homeschool or not – I’d like to share with you what I’ve learned, what resources we used and what we’re changing up this next year. Perhaps with some added info you’ll be able to make the best decision for your family for next year.
Homeschooling Laws
Before you do anything, it’s best to check out your state’s laws and regulations concerning homeschooling. Find out what age they expect from you regarding:
– what age should you start recording keeping for your student
– how many hours of instruction needed per student
if you need to keep a plan book, diary, daily log, or other written records
– the definition of a “school year” in your state
– if, when and how to notify your local school of your intent to homeschool
– and more…(just google “homeschooling laws” for your state)
Schedules
One of the best parts of homeschooling is that you get to set up your own schedule. We had our 3rd baby due in October. Knowing that, and wanting to complete 9 months of instruction, I began teaching in June before the baby was due. We schooled from June through September and then “took off” October, November, December. We then began again in January and will finish up in May. While everyone was summering, we were schooling. Our “summer vacation” was Oct – Dec, and it was such fun! With all the holidays, Halloween, Thanksgiving and Christmas, life can get a little crazy. So it was very special to take those months off and really enjoy a slower paced life. We enjoyed calmer holidays and were able to spend more time baking, making Christmas gifts, focusing on the real meaning behind the Nov and Dec holidays and overall, enjoyed just being together during that time of year. I just loved the flexibility!
Curriculum
There are a few ways you could go with this.
1) You could do it all yourself – researching online for math, science, reading, language arts, etc.
2) You can pick one company that gives you the curriculum for all subjects and just use that one company (aka: Complete Curriculum)
3) You can use the homeschooling convention like a buffet and pick and choose what subjects you need a program for. Because I used to be a reading specialist, I didn’t feel I needed a reading program per se. But because I am NOT a math wiz, I wanted some program or guide to help me teach.
This 3rd option is the one I choose. I wanted to pick and choose which programs to buy. I found with the “complete curriculum” you may like their spelling and grammar but their math was dry and boring. So Instead of going for an all-in-one approach – I went a la carte! Here’s what I did…
A year ago, I was not sure what I was doing in math, spelling, and language arts. I used the convention to help me fill those gaps. However, this year, I knew exactly what I was looking for. I had asked other homeschooling parents what they were using and what they liked and didn’t liked about certain programs. This was a tremendous help!
This year’s convention, I felt like a pro going through the exhibit hall. I knew exactly what I was looking for and was able to purchase programs for all my kids in about one hour. I walked out satisfied I had the best programs picked for my kids. Here’s what I am doing and why:
Language arts: Five In A Row – I’ve used this program for about 3+ years and it’s phenomenal! The people at Five In A Row have scoured about 3,000 children’s books. They then picked the best ones and wrote 10+ lesson plans for each book. The basic theory is that you pick a book from their list, read it each day for a week, and each day you then pick a lesson (which they have already thought out and planned) and teach it to your kids. It’s probably one of my favorite parts of my day with my kids. We all have TONS of fun! And by the end of the week, you’ve fallen in love with the book you’ve been studying and learned so much in the process. It’s great for ages 4-8.
Math: Math U See – Another exceptional program! I wish I had learned math like the way they teach it! This program comes with a student book, student test book, manipulatives, parent/teacher guide book and CD. The CD teaches the parent how to teach the lesson (in about 2-3 min) and then you turn around and teach it to your child. The way they teach and organize how they teach is brilliant. My child feels so successful each time she completes her math that I often hear, “Mom, I love math!” I know I never felt that way about math. Two other reasons I love this program: 1) They teach to mastery. It’s not a spiral program. 2) They use manipulatives which helps the child see the math computations. Math is such an “in your head” experience that often I found it hard to find the words to explain it to my child. However, with the manipulative and the work book, my child felt so confident. And that was such a nice contrast to how she felt about herself in kindergarten when she would make comments like, “I’m not good at math” or “I don’t like math.” No way was I interested in her loosing her joy at 6 yrs old for math! Now she can teach (and often does) her brother because she gets it conceptually (thanks to the manipulatives)!
Spelling/Grammar: A Beka – Truth be told I have not yet used this program but I hear great things from other parents who have been in the homeschooling trenches a while. This program will not set the world on fire in terms of their creativity (like Math U See or Five In A Row) but it is tried and true. It’s simple and straight forward and targets mastery in spelling and grammar. We actually just received our 2nd grade and preschool books in the mail today. The kids and I sat down to look at them right away. My 2nd grader turns to me and asks, “Can we start on these books tomorrow?” They look fun and right at their level. I also like that they are Christian based (not afraid to mention Christmas and other biblical terms) and they are pro-America. They mention our fore-fathers and talk about American History as they teach grammar. I really like that. Makes me excited to teach!!
Science: Real Science 4 Kids: Again, this is a new program I have not yet used, but I like how it’s organized and it doesn’t take tons of time to assemble ingredients for experiments. I’m have the student and parent books ready to go and will start using it in May.
What’s the cost?
I have spent approx. $300 on curriculum materials for this next year. I would expect that’s a good estimate for 2 young children in homeschooling. If you are teaching in the upper grades, I would expect that to increase due to the amount of additional textbooks needed. If you’re looking to keep your costs down, I’d look for a used curriculum sale perhaps in your homeschooling network or research on craigslist or eBay.
Hopefully this has been helpful. I’m always looking for new and better ways of teaching so if you have any helpful ideas, I’d love to hear what great “nuggets” you’ve found!